Configuring Fraud Checks
To implement the Fraud check for transactions on your website, follow these steps to set it up on the "Fraud configuration" page.
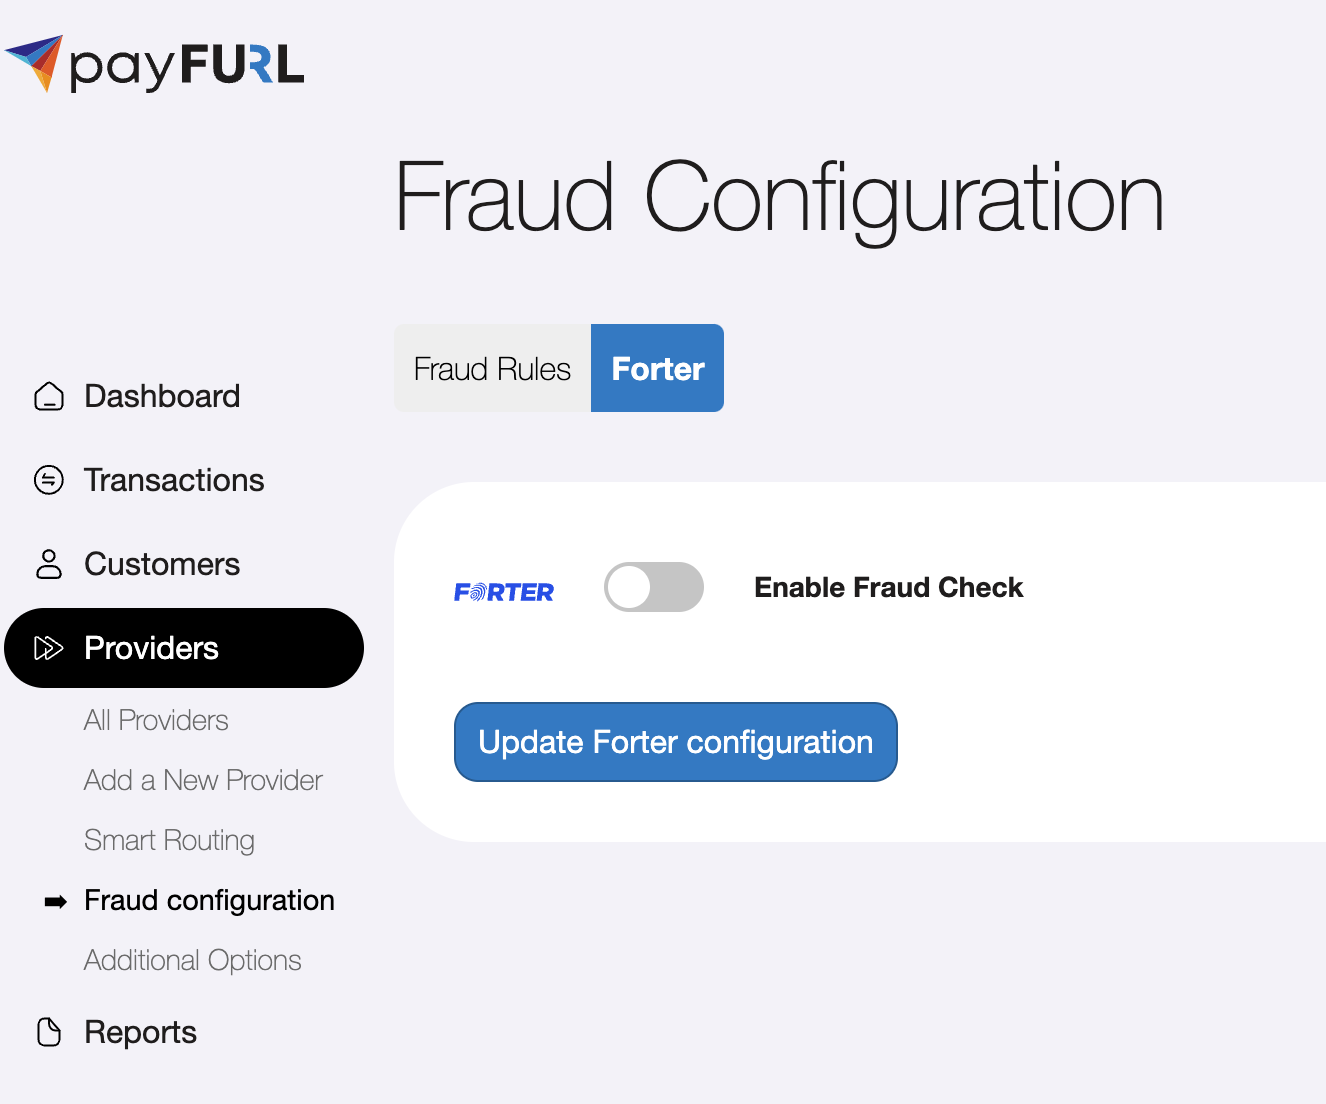
Enabling Fraud Checks
To enable the Fraud check for transactions, you need to activate the "Enable Fraud Check" option using the checkbox.

To enable automatic stop (fail) transaction processing if Fraud check failed, you need to acitvate the "Stop payment on failure" option using the checkbox. If the checkbox is not activated, Fraud check results do no affect the transaction processing.

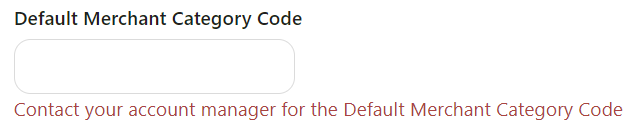
You will also need to provide the Default Merchant Category Code (ISO 18245), which can be obtained from your account manager.
Afterward, click the "Update Fraud configuration" button to save your changes. This will apply the Fraud check to all upcoming transactions.
Enabling Fraud for All Transactions
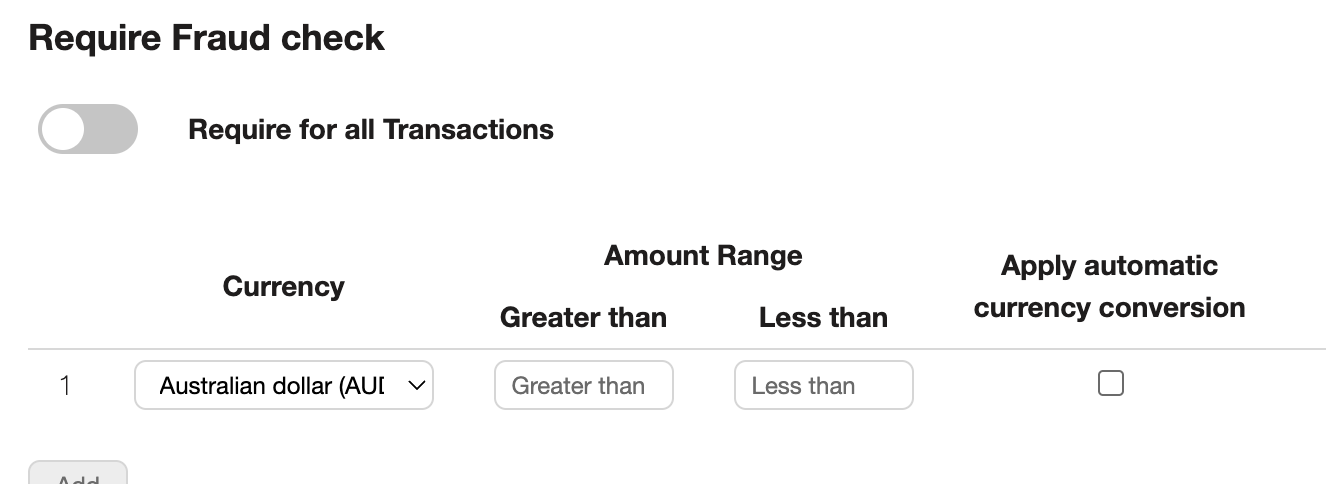
If you wish to require the Fraud check for all transactions, simply enable the "Require for all transactions" checkbox.

Configuring Fraud check for a Subset of Transactions
If you'd like to apply the Fraud check to only a subset of transactions, follow these steps:
- Disable the "Require for all transactions" option.
- Use Routing visibility data instead.
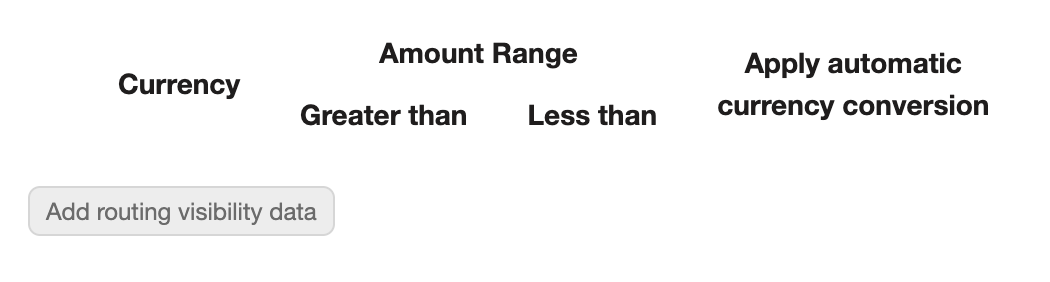
Click the "Add routing visibility data" button to create a new routing configuration.
Here's how to set up the routing configuration:
- Specify the currency and set up an amount range.
- Choose whether to apply automatic currency conversion for transactions with different currencies.
- Configure the "Greater than" and/or "Less than" amounts for the range.
For instance:
- Setting the "Greater than" amount to $20 will trigger the Fraud check for transactions exceeding $20.
- Setting the "Greater than" amount to $100 and the "Less than" amount to $1000 will trigger the check for transactions with amounts between $100 and $1000.
Feel free to add as many configurations as needed by clicking the "Add" button at the bottom of the section.